June 29, 2011

My loving Turtles

I have the cutest pet turtles!

Okay, so their proper name is tortoise, but turtle is much easier to say, or just sounds cuter so that is what we call our incredibly cute pets.  Our house has three turtles.   One is my mom's, and the two others are considered mine.  This means that when I am grown and get married I will take my two turtles with me.

I am obsessed with watching them eat and explore the backyard.  They do nothing special, but I think they are so cute.  We got them from a friend when they were about a month old, and have watched them grow up.

I have named mine Freckles and Mogli.  My mom's turtle is named baby, and - you guessed it - she is the littlest.

This is when we first got them.


Then they get bigger.  This picture was taken when they were about one year old.

Then we began putting them outside to explore and get exercise.


Currently we keep one outside all the time because she is soooo big.  If you outstretched you hands, separating all your fingers and putting your pinkies together, that is how big the biggest one, mogli, is.  Its crazy, and she is getting heavy too.

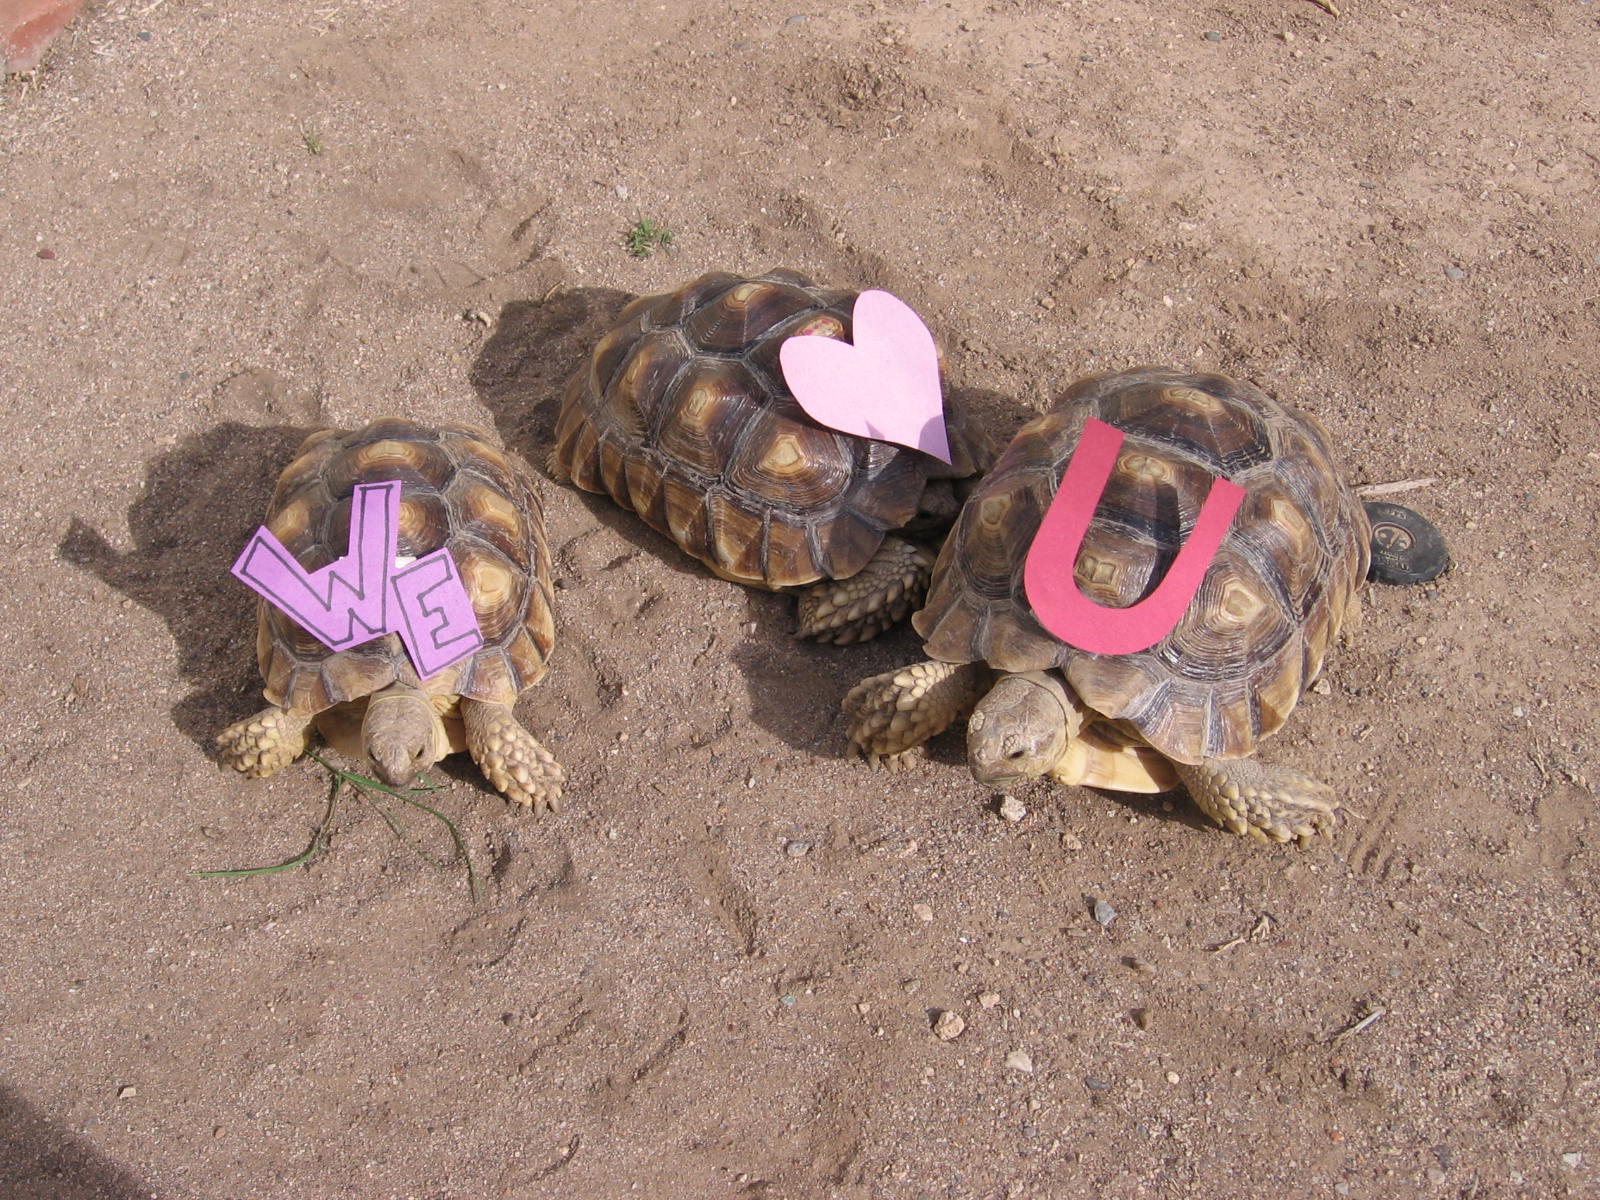
I sometimes dress them up too.


Linking to: Somewhat Simple,

June 27, 2011

Heart Frame

This is a frame I wanted to make  for mothers day, but time ran out, and the words I wanted to add didn't fit, and its been sitting around unfinished )with hearts not along the bottom half) until today.

I Finally Finished!

A "HOW-TO"

Gather materials: paintbrush, red and white hues of paint, wooden frame, stamps of hearts (I cut the hearts out of sponges), varnish.

1. Paint frame with several coats.  My base coat was a bright pink mixed with white to soften the color.

2. Get stampers ready.  Put out little quarter size colors of paint.  Then fill the sponge, and stamp onto you frame.  This was kind of tedious because you have to wash the sponge after each color.  Don't forget to mix colors too, it gives you pretty and unique colors.

3. Let dry.

4. Varnish.

Optional 5.  Originally, I my frame so that it could sit on a desk, but now I have decided that I want it to hang on the wall. So I attached ribbon to the back using hot glue then was able to hang it on the wall with a nail.

I am linking to these parties this week (you can find their buttons on the 'where I'm linking' page):

All Things Related. Anything related tuesday. The Shabby Nest. Ginger Snaps, Wow me wed. fingerprints on the fridge, feature yourself. Simply Designing. Lil Luna. seven thirty three. Sew Much Ado. Eisy Morgan. My Girlish Whims. Someday Crafts. Naptime Crafters. Tidy Mom. Making me do. My romantic home. Creations by Kara. Homemaker on a dime.  Young and Crafty. 

June 24, 2011

Kid's Project

On my recent trip to California I was visiting my cousins, who like crafts, and decided to go to the dollar tree to get some crafting supplies.  I am at the dollar tree quite often so I do know that they have crafting supplies.

I found some foam frames, which will be easily decorated. 

I also found some foam shapes that have sticky backs that can be added to the foam frames.


Then gathering our frames, shapes, and markers we got decorating.  It was easy for my cousins to let their imaginations run free.  It was a good way to spend time together, you really don't need to concentrate much on this project, so we got to talk and have fun.


I am linking to: (buttons can be viewed on the where I'm linking page)
Come Together Kids, Summer Fun Party. Craft Envy, Spotlight Saturday.  Naptime Crafters, Friday favs. Tidy Mom, I'm lovin' it Friday. Creations by Kara, Look what I made. Thrifty Handmade Days, Pity Party. SSB, Mad Skills Monday. All Things Related, Anything related Tuesday. The Shabby Nest. Simply Designing.

Craft Hope Update

Well this is a very late update.  I sent them long ago, didn't forget that important point.  The project was to make bracelets for homeless children in Russia. project 12 :: orphan outreach

These were fun to make.  I tried to get creative with making these things.  I used some rope from the dollar tree, that was red and white.  I also found some twine at the dollar tree and also added some beads to make them pretty.  I also did some hemp and made all different sizes.  I also remembered making beading projects that create shapes (sorry that doesn't make any sense, I don't know how to explain it). 

And I tried to make these boy-ish.  Don't know how good of a job I did, and maybe the boys won't like them, but I am sure someone will.

June 5, 2011

Handmade grad signs

I created another project for my brothers graduation.  We had our party last night, outside by the pool, and it was nice when the sun finally went down.  People from the neighborhood as well as family stopped by to celebrate.  I put myself in charge of gathering decorations to hang for the party.  And wouldn't you know I got most of the stuff from Dollar Tree.  Anyways I made some very cool signs for the party. (you can see the designs at the end of this post, I want to keep it a surprise)

First I stopped by the dollar tree and found some hanging signs for a hula or beach theme party.  I brought the signs home, not intending to use them as is.  I took out the rope/twine pieces to make it easier to paint.  Then began painting away.


After painting the whole surface I began with the embellishments.  Outlining the sign, writing words, outlining in puffy paint, etc.


Then I had my final product of two very cute grad signs in my brothers school colors. 

So when the party came around I put the twine/rope back into the holes and put them around the food table.  In the large space the party was in the signs were pretty small and a little insignificant, but I am very proud of them.


I also made some reece's cup graduation hats.  These things are all over the internet, but I want to give some suggestions.  One: refrigerate the reeces before beginning the project.  You have to push on the tops of the cups, and it is easier when the chocolate is really hard.  Two: if you are taping the hat onto the reeces cup roll a large section of tape, then cut the pieces to fit your needs.  It's better than rolling them individually.


Look where I am posting to (buttons can be viewed on the where I'm linking page):
The Girl Creative
M.M.M on C.R.A.F.T.
Keeping It Simples' Motivate Me Monday
Craft O Maniac Monday
Made by you Mondays
SSB's Mad Skills Monday
Make Something Monday
Anything Related Tuesday at All Thingz Related
Naptime Crafter's Friday Fav
Show and Tell Saturday on Be Different Act Normal
A vision to remember
Frugal Fridays at The Shabby Nest
Freature yourself Friday on Fingerprints on the fridge
Simply Designing
Creations by Kara "Look what I made"