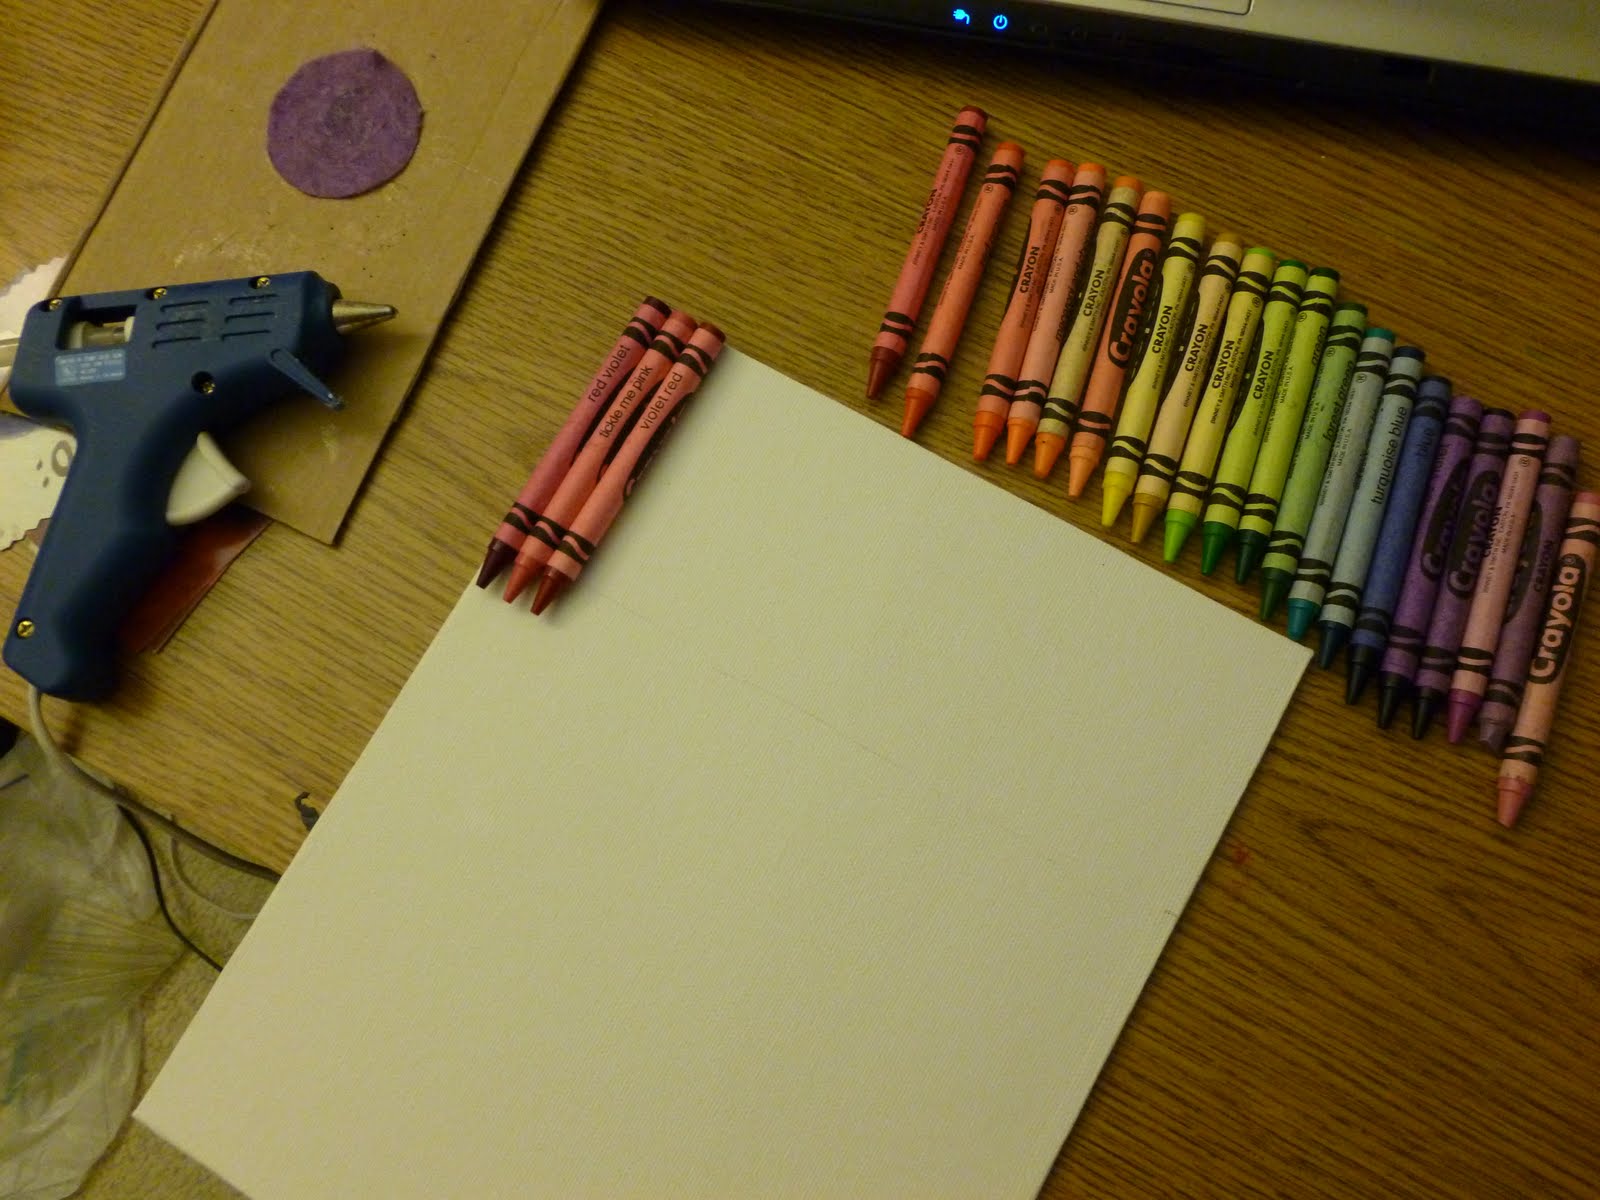
I am not sure why I got so excited about this project... I thought the colors were pretty and it would be a nice piece to display in a room. As luck would have it, I found a crayon box in my scrapbooking stuff while I was organizing all my stickers. I recently went to Michaels and found a variety pack of all types of scrapbooking supplies, and I love spending only $10 on a package of 14 or 15 items. So as I was putting away my new stickers and stuff I found this box of crayons, and I knew it was a sign that I had to do this project.
 What is funny is that the blues melted within the first 2 hours. Next was the purples. Tracy warned that in her city the crayons did not melt outside. But in Arizona at about 1:00 it is hot as heck and they melted super quick. The colors fell as I was standing outside watching. I then had to move the canvas so that it was in more direct sunlight, and the crayons still melted based on color. Green, yellow, red, orange.
The last few colors melted hours after the first ones did, so there is an uneven melt (the colors that melted first have a thin layer of color because it ran down the canvas a lot longer that other colors). Next time I do this project, if I ever do, I will wait until the middle of the day to put the crayons out, in the hopes that they will melt at the same pace.
 I also added stickers to mine in the hopes that I was get an outline of the letters. It did not work too well. First the stickers were not very sticky so the melted crayon went behind the sticker back. Then because of the uneven coating it was hard to get the stickers up cleanly. So I painted over where the stickers were so that they would be in greater contrast to the colors.
 So for the FINALE:
 | |
| you can really see the uneven-ness of my colors, and it does look better in person. |
I really like this. I haven't seen it yet. How fun and simple.
ReplyDeletethis is the second time i have seen this project..think i'm gonna have to try it!lol. following you, follow back please http://modernmommyreviews.blogspot.com/
ReplyDeleteso neat! New follower from the Whimsical Wednesday hop.
ReplyDeleteAHHH! I love this! SO CUTE! Come check out the huge giveaway I am hosting! There are 10 different prizes! (I follow you :)
ReplyDelete